
Windows 10 Pro, Education and Enterprise editions come with a built-in hypervisor client Hyper-V allowing users to create and run other operating systems on a virtual machine. Although Hyper-V is mainly designed to run Windows guests it can also be used to virtually install other operating systems like various Linux versions.
Enable Virtualization Technology:
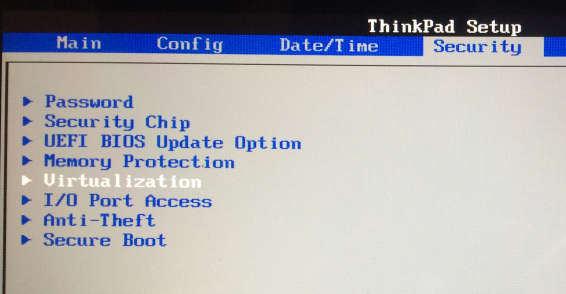
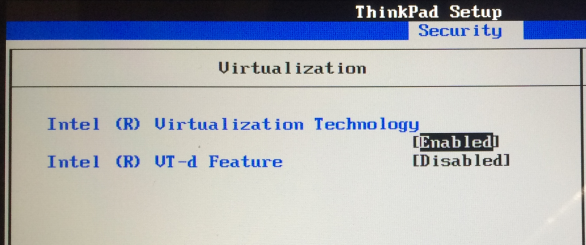
To get started with Hyper-V, you will have to enable Virtualization Technology under Security Tab from the BIOS. Boot the computer into BIOS mode and follow below steps:
Security Tab -> Virtualization -> Goto Virtualization Technology -> Enable
Enable / Install the Hyper-V Role:
You must enable the Hyper-V role before you can create virtual machines on Windows 10. This can be done using the Windows 10 control panel or PowerShell as shown below:
- 1. Right click on the Windows button and select ‘Programs and Features’.
- 2. Select Turn Windows Features on or off.
- 3. Select Hyper-V and click OK.
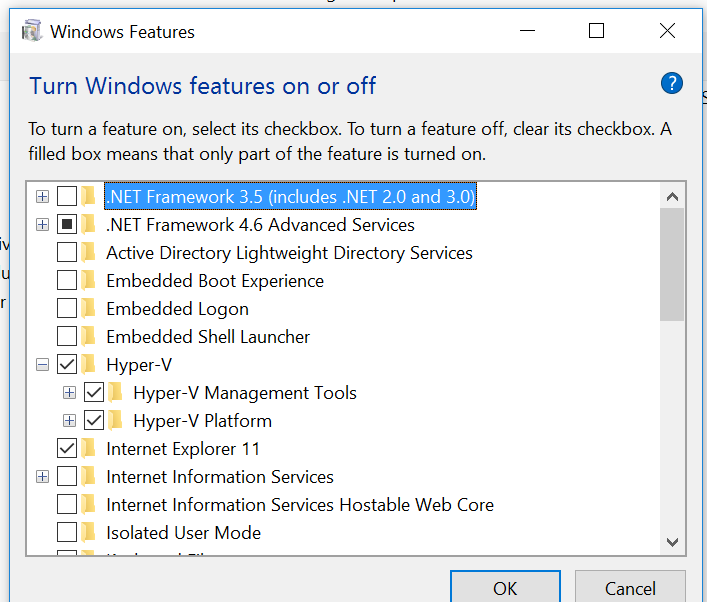
- 4. When the installation has completed you are prompted to restart your computer.
You can install Hyper-V with PowerShell as below:
- 1. Open a PowerShell console as Administrator.
- 2. Run the following command:
Enable-WindowsOptionalFeature -Online -FeatureName Microsoft-Hyper-V –All
- 3. When the installation has completed you need to reboot the computer.
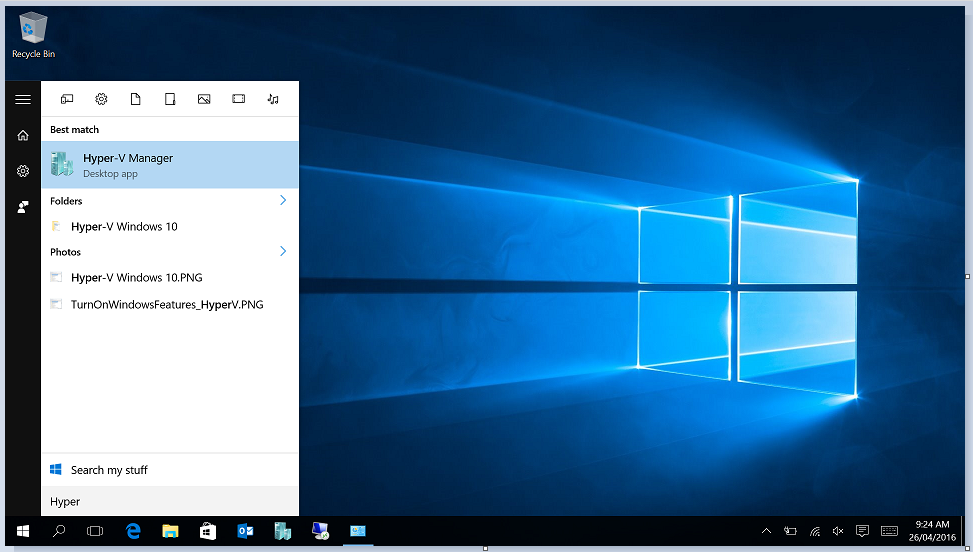
Open Hyper-V Manager:
Click Win + S or Click on Start button and type Hyper-V to start search, Click Hyper-V Manager.
First things first – Create Virtual Switch:
Before you create a virtual machine in Hyper-V you need to provide a way for this virtual machine to connect to a physical network. Hyper-V includes software based networking technology that allows a virtual machines network card to connect to a virtual switch, providing network connectivity.
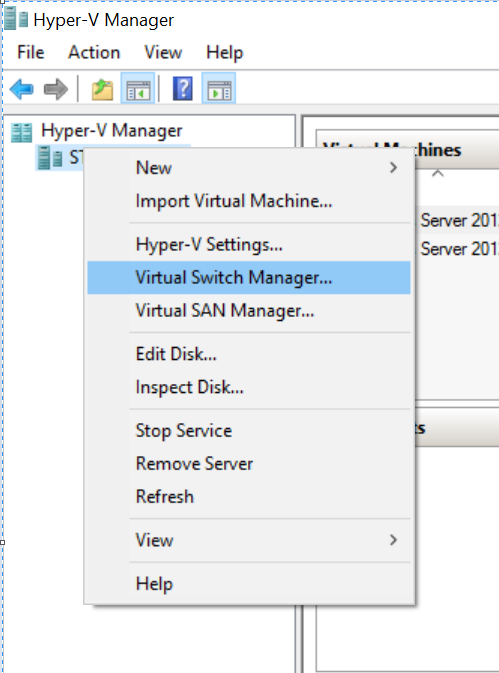
- 1. Right Click on the name of the Hyper-V host and select Virtual Switch Manager.
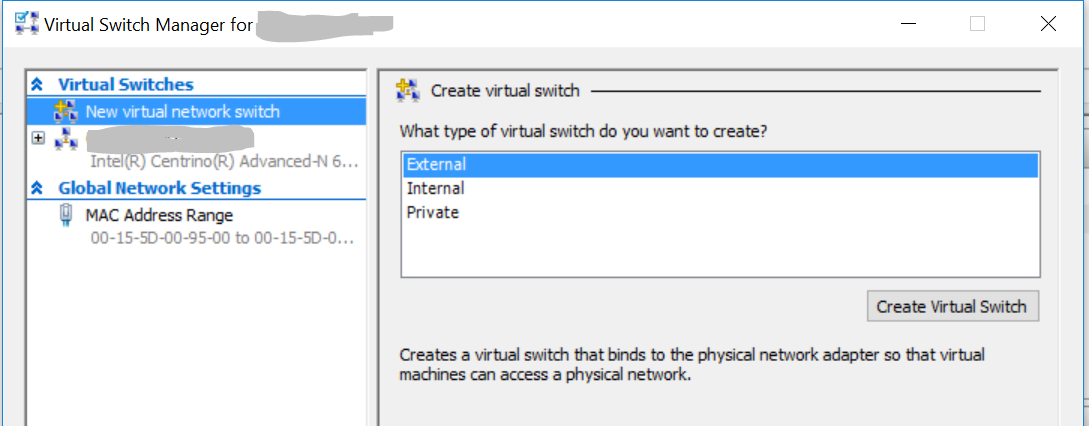
- 2. Under ‘Virtual Switches’ select New virtual network switch.
- 3. Select one of 3 types of virtual switch, and click Create Virtual Switch button.
- a. External – If a virtual machine needs to get access to a physical network directly.
- b. Internal – If no need to get access to the physical network.
- c. Private – If a virtual machine only runs on this host.
- 4. Under ‘Create virtual switch’ select External.
- 5. Select the Create Virtual Switch button.
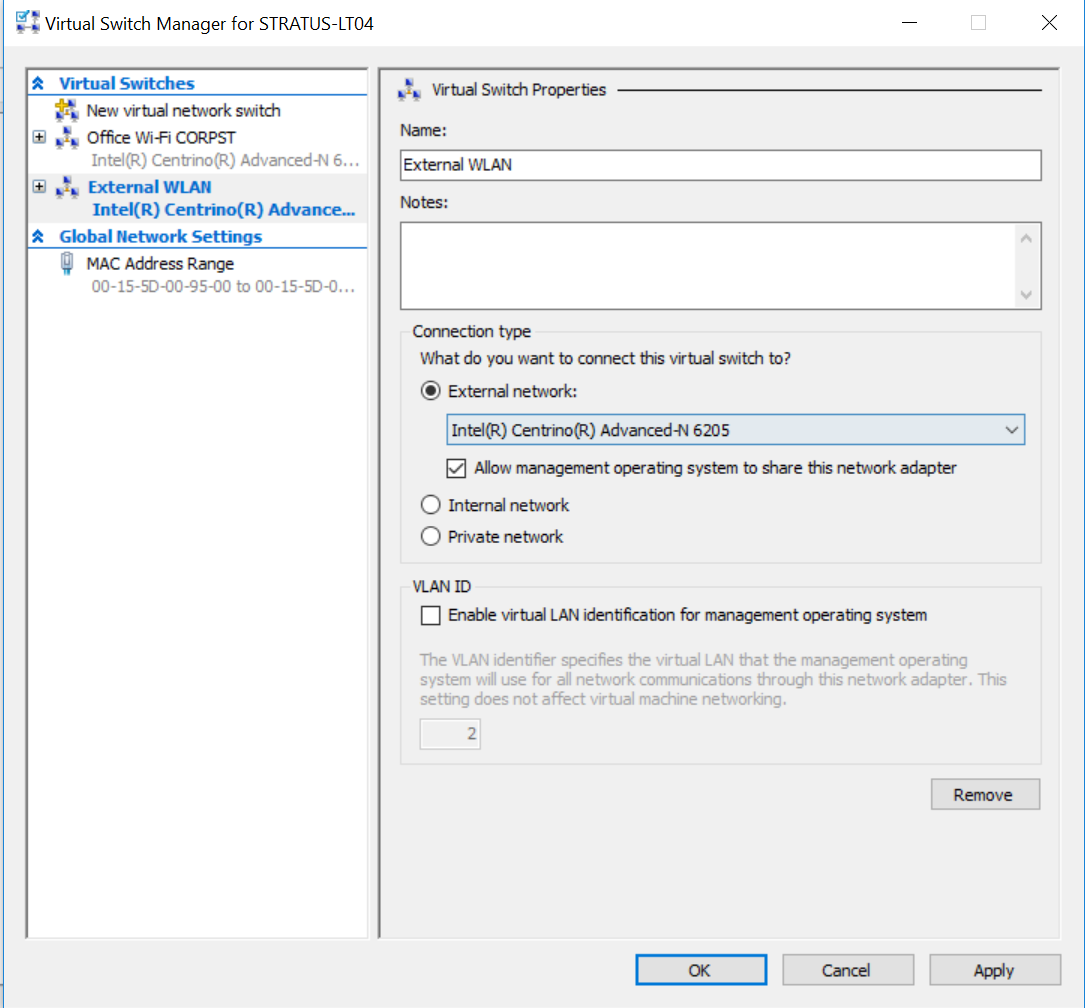
- 6. Under ‘Virtual Switch Properties’ give the new switch a name such as External WLAN Switch.
- 7. Under ‘Connection Type’ ensure that External Network has been selected.
- 8. Select the physical network card that to be paired with the new virtual switch, this is the network card that is physically connected to the network.
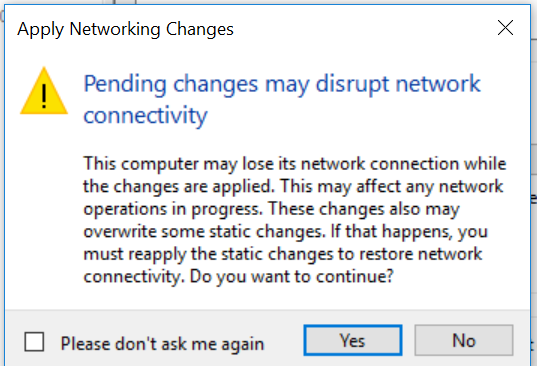
- 9. Apply changes by clicking Yes in following dialog:
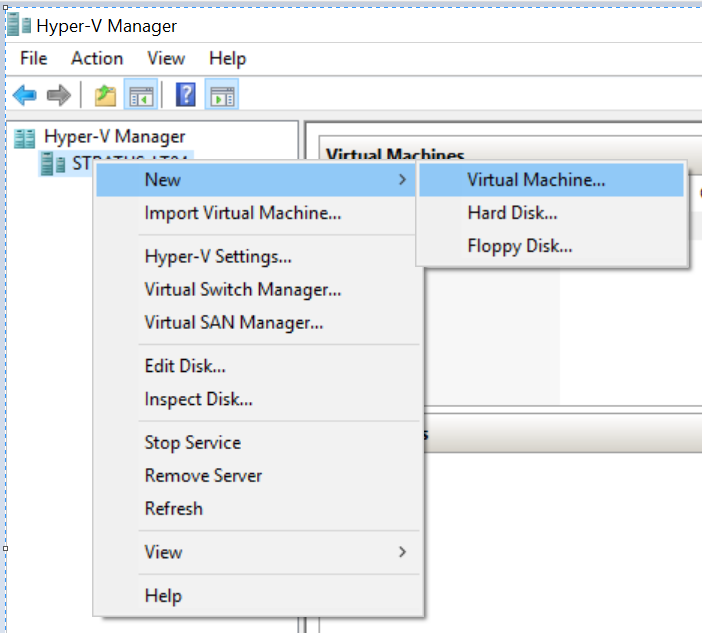
Create Virtual Machine:
Right Click the Host Name -> New -> Virtual Machine…
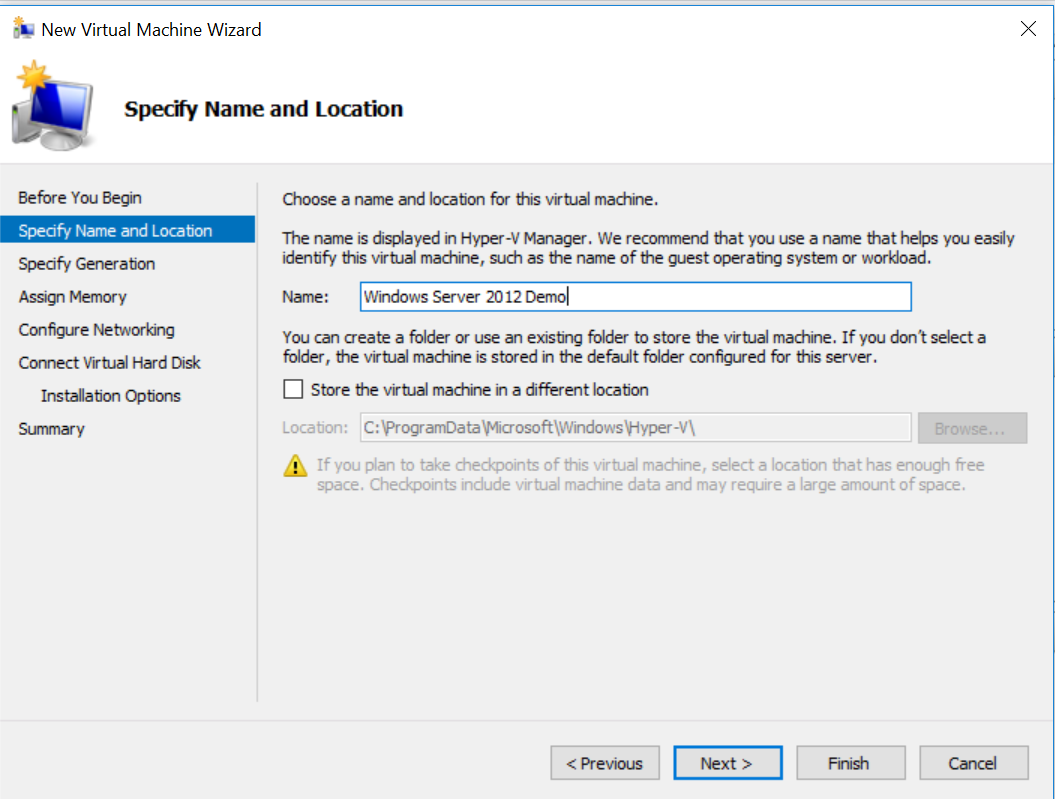
Click Next after Reviewing ‘Before You Begin’ content.
Give the Virtual Machine a name, select the Check Box if you wish to change the location to store Virtual Machine at different location or it would store at the default location as shown.
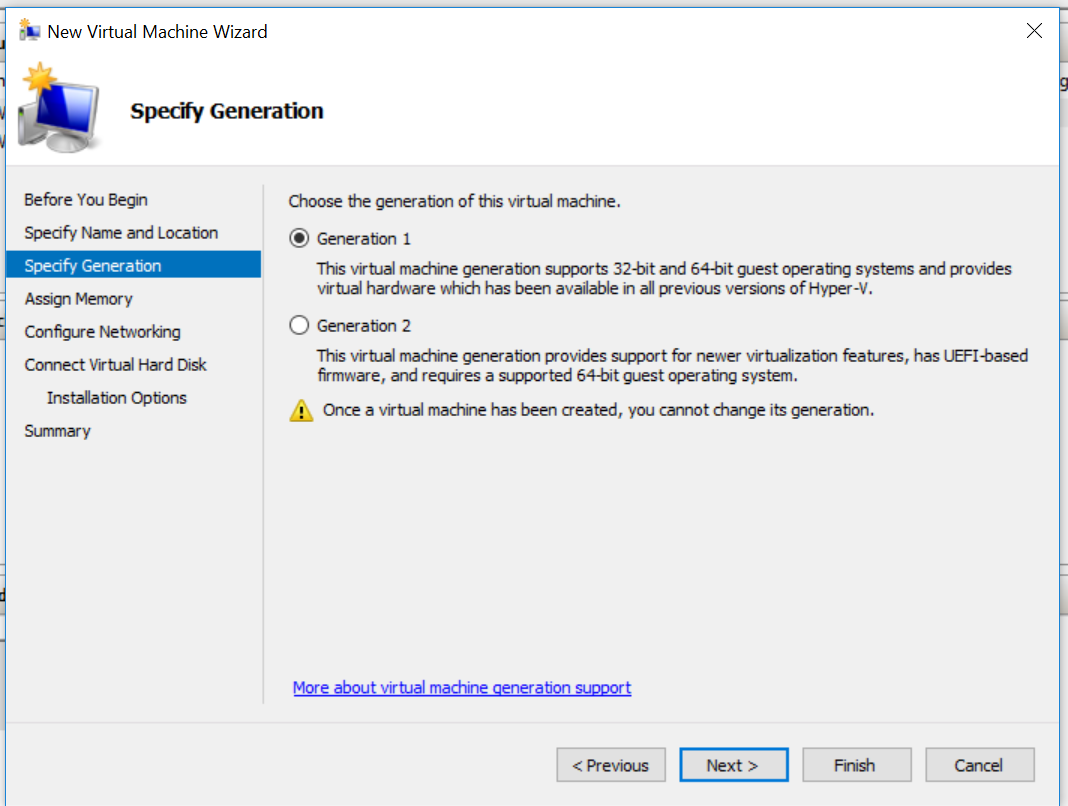
Select the Generation for the VM and Click Next. Please make sure about selecting the Generation as once the Virtual Machine is created, you cannot change its generation.
Generation 1: This VM generation supports 32-bit & 64-bit operating systems and provides virtual hardware which has been available in all previous versions of Hyper-V.
Generation 2: This VM generation provides support for newer virtualization features, has UEFI-based firmware, and required a supported 64-bit guest operating system.
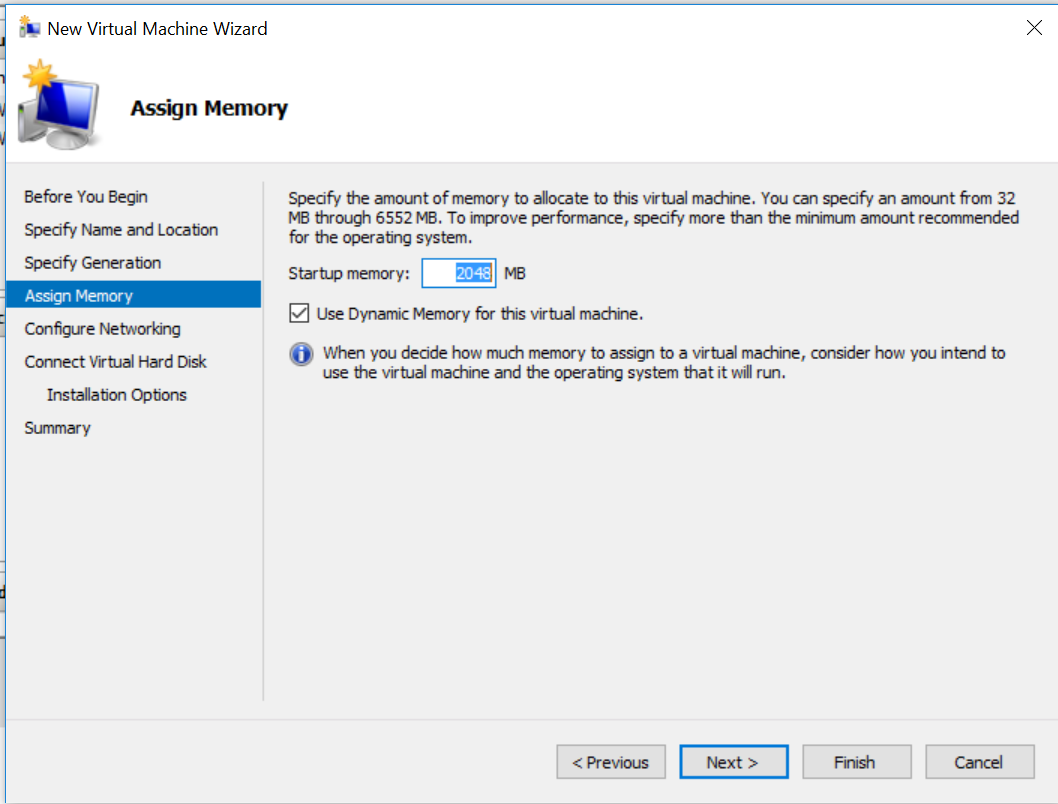
Assign RAM to Virtual Machine and tick the checkbox for Use Dynamic Memory for this VM.
When enabled, dynamic memory recovers unused memory from the running virtual machine. This allows more virtual machines to run on the host.
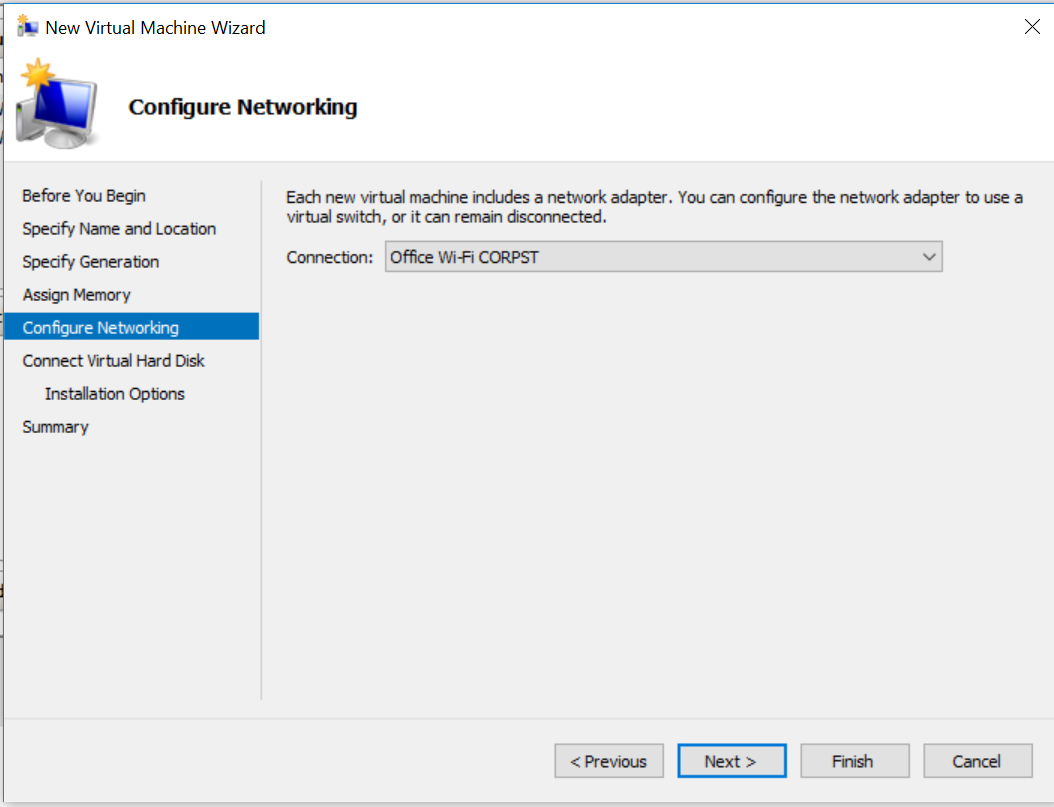
Select the Virtual Switch for the VM and Click Next. This will allow the Virtual Machine to connect to Network.
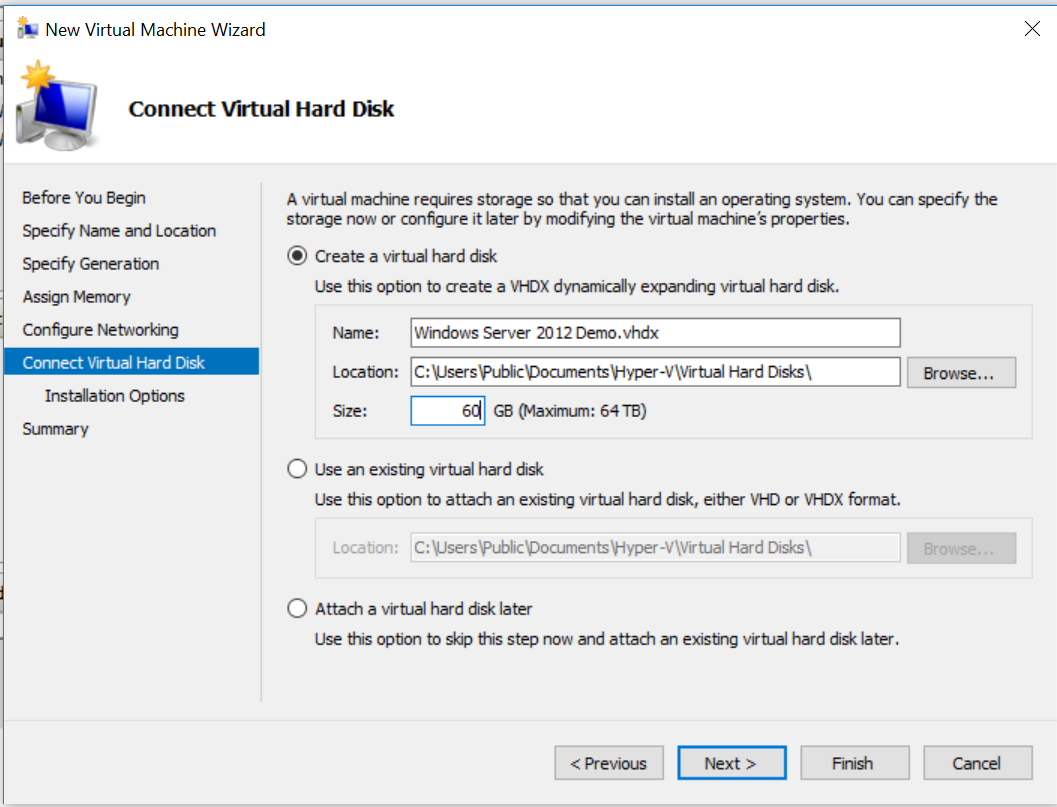
Next step is to give a VM a Name, Location for the VHD or keep the default, specify the size for the VM and Click Next.
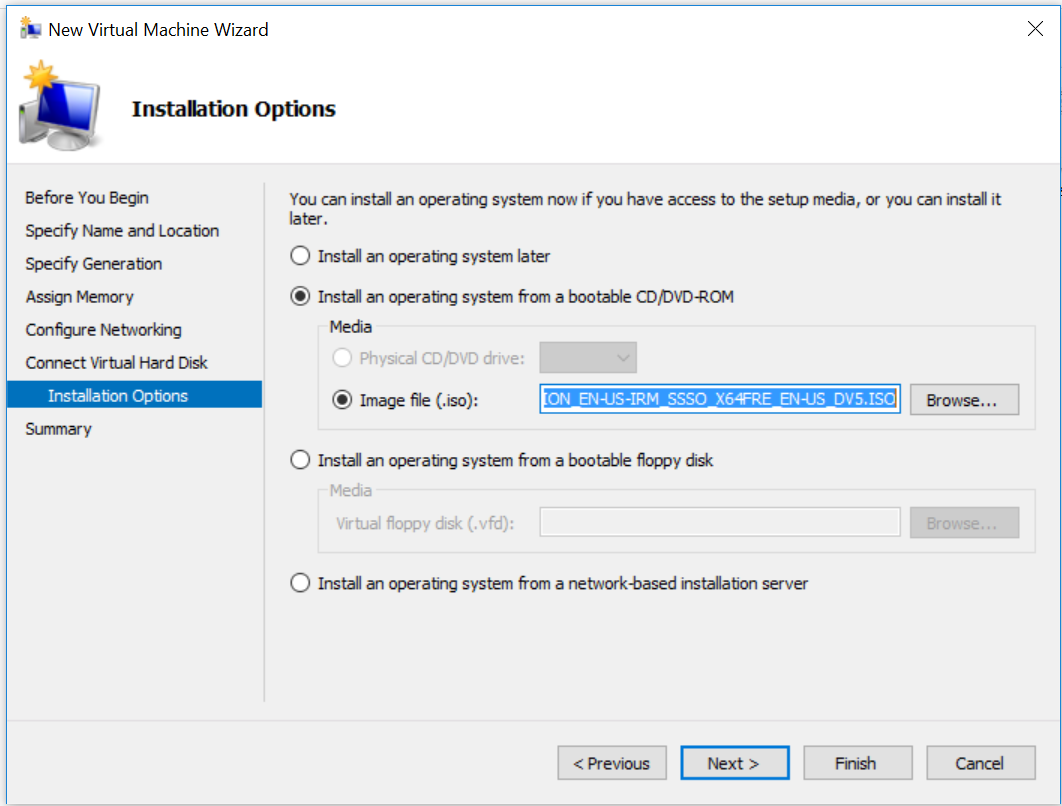
This step will help you select the installation media for the virtual machine. Select Install an operating system from a bootable image file and then select an operating system .iso file. Click Next once completed.
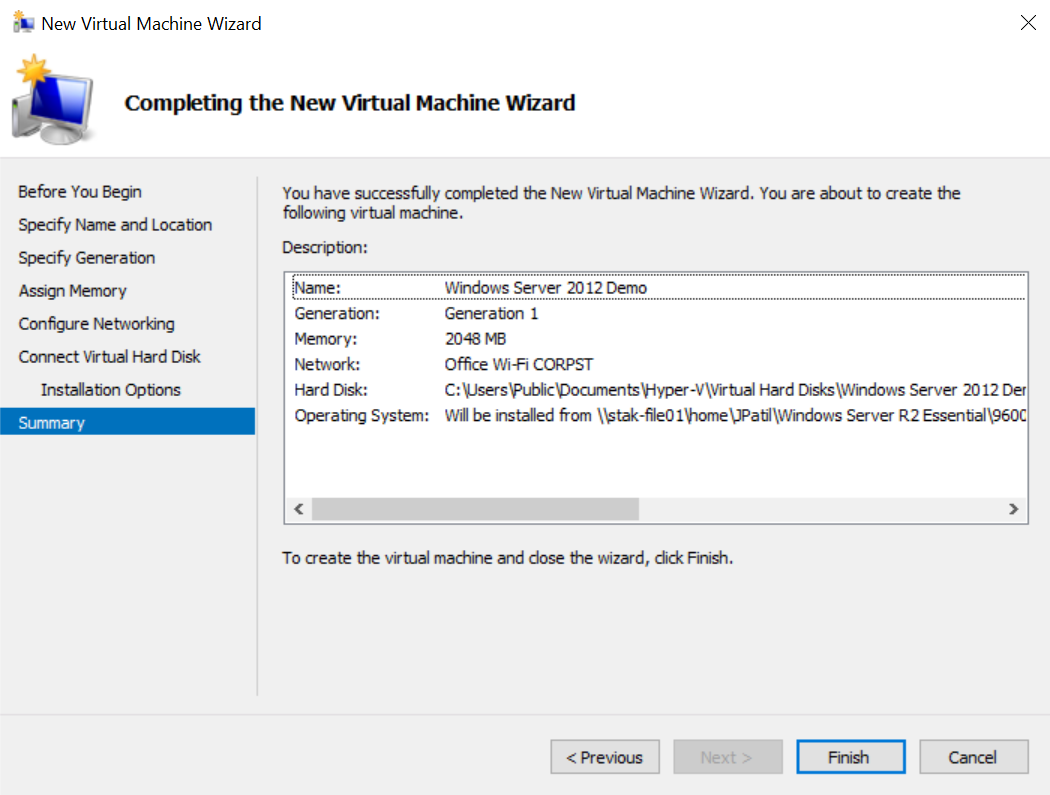
Review all the details for the Virtual Machine and click Finish.
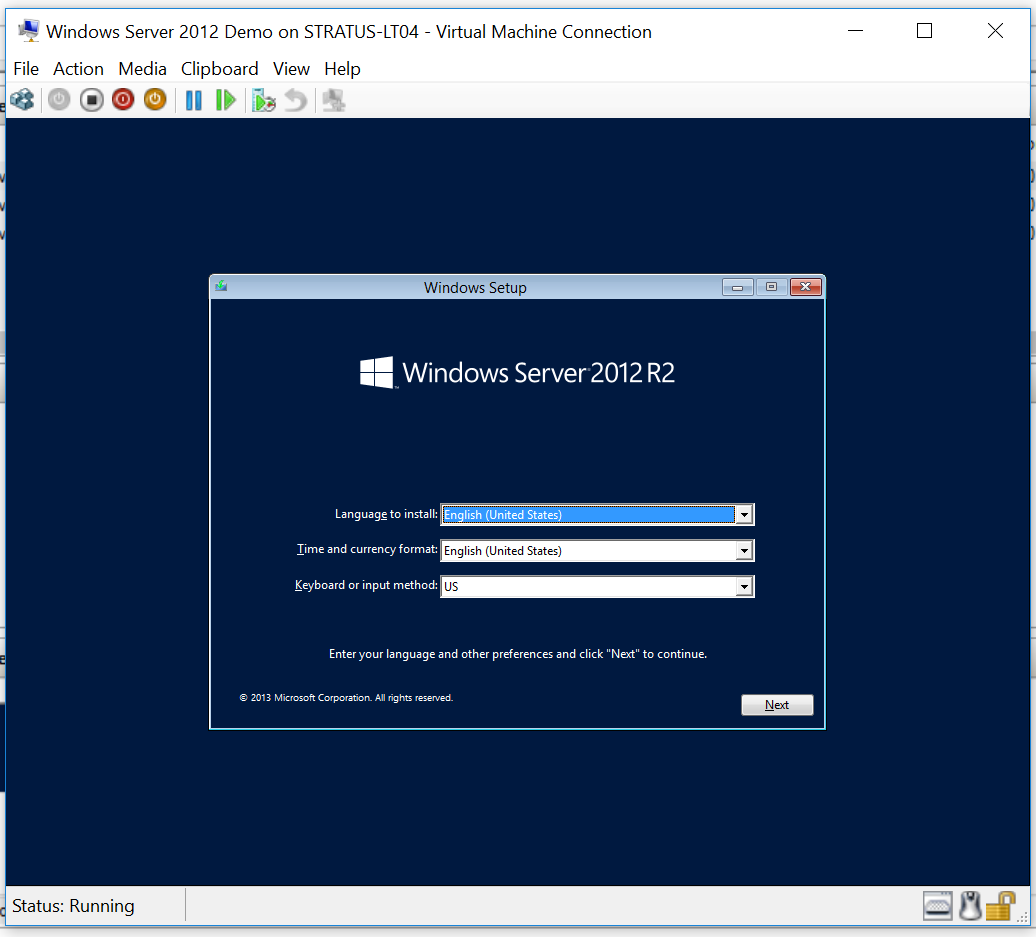
Complete the Operating System Installation Process:
Once the VM is created Right Click the Virtual Machine and Click Connect and then Start. Finish the installation process for operating system.
Have Fun Exploring Virtualization!!! 🙂
If this article helped you or if you have further suggestions, please feel free to comment below.