
The following guidelines step through the method of manually configuring your Office 365 Exchange Online account with Outlook 2010, 2013, and 2016 for Windows. This may be required when configuring secondary account or if you run into issues with the automatic configuration process.
Step 1: Open Control Panel.
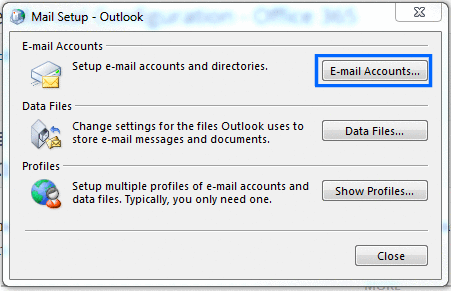
Step 2: Click Mail (32-bit) or Mail (Microsoft Outlook 2013) as per Outlook client installation on machine.
Step 3: Click E-mail Accounts…
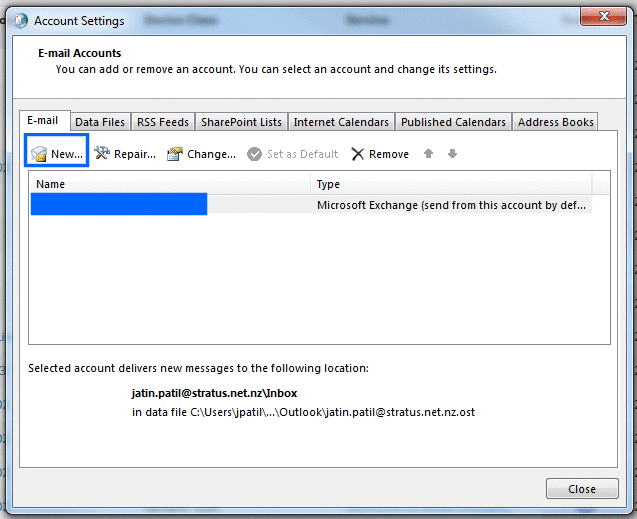
Step 4: Click New…
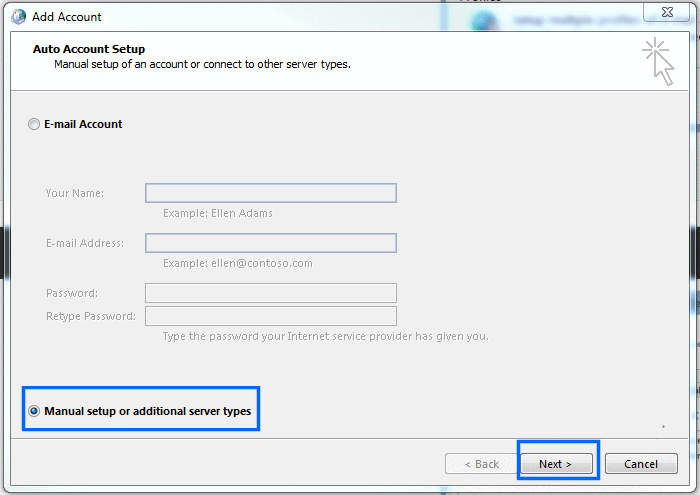
Step 5: Select Manual setup or additional server types, then click Next.
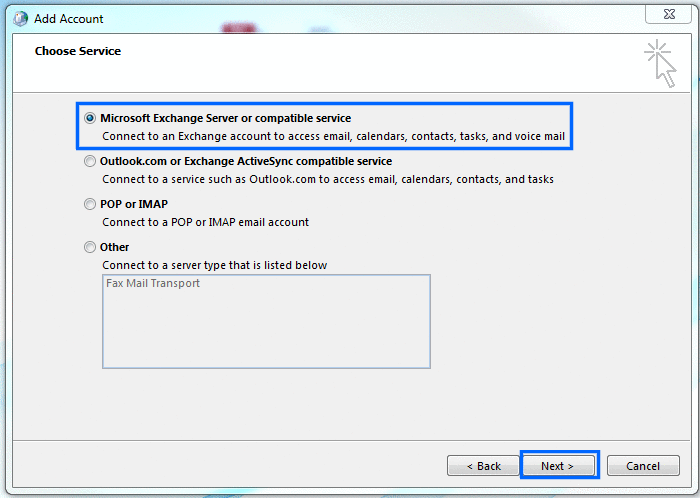
Step 6: Select Microsoft Exchange Server or compatible service, then click Next.
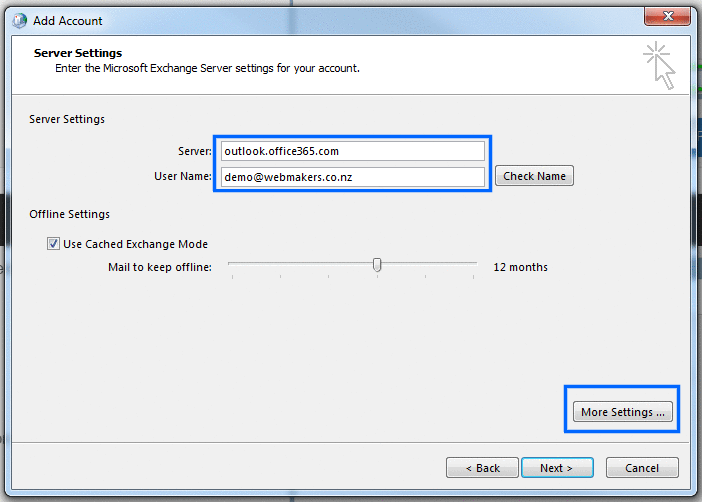
Step 7: Enter the details as below:
- Server: outlook.office365.com
- User Name: As supplied by Systems Administrator/E-mail Manager
When above details are entered, Click More Settings …
*Note: Do not click the Check Name button at this step, still some settings to be finished before you click Check Name.
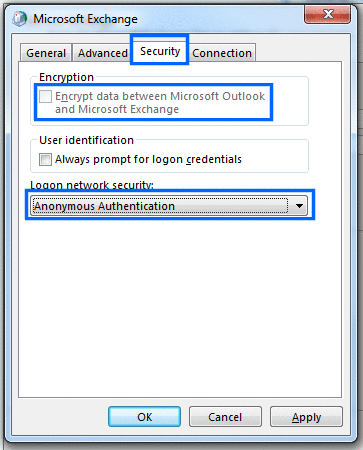
Step 8: Click the Security tab. And make below changes:
- Uncheck Encrypt data between Microsoft Outlook and Microsoft Exchange.
- Choose Anonymous Authentication from the Logon network security drop-down menu.
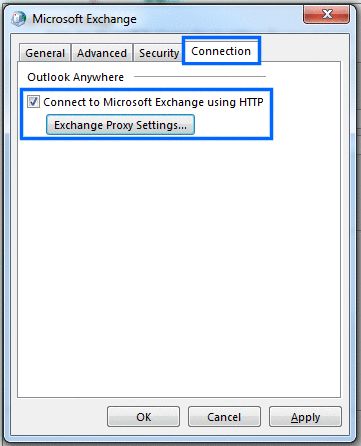
Step 9: Click on the Connection tab. Check Connect to Microsoft Exchange using HTTP, then click Exchange Proxy Settings…
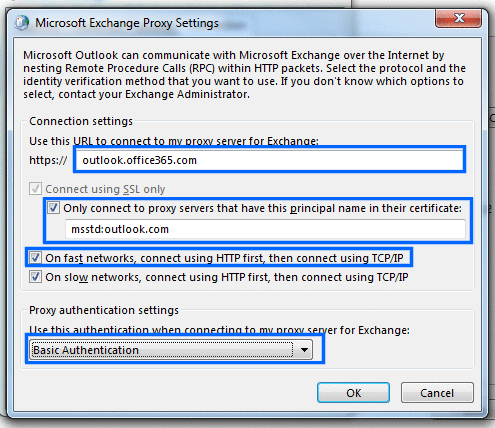
Step 10: Adjust the settings as below in Microsoft Exchange Proxy Settings dialogue box.
- 1. In the Use this URL to connect to my proxy server for Exchange field, enter outlook.office365.com.
- 2. Check the Only connect to proxy servers that have this principal name on their certificate, then enter msstd:outlook.com in the associated text field.
- 3. Check the On fast networks, connect using HTTP first then connect using TCP/IP box.
- 4. Select Basic Authentication from the Use this authentication when connecting to my proxy server for Exchange drop-down menu.
- 5. Click OK.
Step 11: Click OK on Microsoft Exchange dialogue box.
Step 12: Click Check Name.
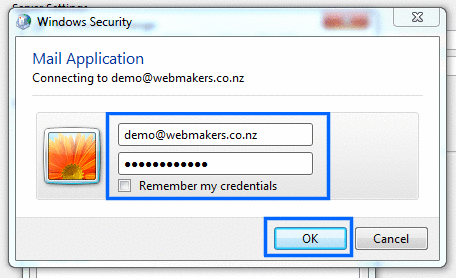
Step 13: An authentication prompt will appear. Enter your User Name (or Email ID) and IdentiKey password in the corresponding fields, then click OK.
Step 14: Click Next and then Click Finish. Your account will be setup and you can open Outlook to begin using your Exchange account.
If this article helped you or if you have further suggestions, please feel free to comment below. 🙂